
Whether it’s a conference, meeting, or other event, people are eager to watch events online.
In fact, ABI Research forecasts live video streaming to grow at a Compound Annual Growth Rate (CAGR) of 10% to 91 million subscribers in 2024.
So live streaming is becoming more and more popular to reach a wider audience, and that’s why we’ve put together this comprehensive guide of tips, tricks, and tools to get you started. We’ll cover everything from how to choose the right platform to how to ensure a successful broadcast.
Whether you’re a first-time live streamer or an experienced pro, read on for all the tips and tricks you need!
What is live streaming?
Live streaming is the broadcast of audio or video from a real-time source to an internet audience.
It allows viewers to watch a live event as it is happening. You can use live streaming for a variety of events, including concerts, conferences, and sporting events.
There are several reasons you should consider live streaming your next event.
Why choose live streaming over other forms of video?
First, it gives viewers a sense of immediacy and connection that they can’t get from watching a recorded video.
They feel like they are part of the action, and they are more likely to pay attention and engage with the content. No wonder live video keeps users engaged 10 to 20 times longer than on-demand content — according to Forrester.
Second, live streaming is an excellent way to create hype and build excitement for an upcoming event. By giving people a preview of what’s to come, you can generate interest and get people talking about your event.
How to set up your live stream
In most cases, here are the steps you need to take to set up your live stream:
1. Identify the tools and resources you need

This first step is to identify the tools and resources you need to set up your live stream. At a minimum, you’ll need a:
- video hosting platform; you can use free platforms like Twitch, YouTube Live, and Facebook Live, or premium hosting platforms like JWP, Vimeo, and Brightcove.
- broadcasting hardware like a video camera, or webcam.
- piece of audio equipment such as a microphone.
- streaming software like OBS, Xsplit, and Wirecast.
- fast and reliable internet connection.
- workforce to help with setting up, operating the equipment, and monitoring the stream.
- live event location or venue.
Depending on the type of event and stream you’re looking to set up, you may also need additional hardware or software to get fully set up.
In the next few steps, we’ll be unwrapping more components of a successful live stream and discussing exactly what you need to get started.
2. Choose a video hosting platform
One of the most important parts of setting up a live streaming service is choosing the right video hosting platform.
There are many options available and it’s important to research each one to determine which will best meet your needs.
Some of the popular video hosting platforms include YouTube, Vimeo, Wistia, Vidyard, Brightcove, and Kaltura. Each has its own set of features and pricing models, so you need to look at each one in detail before deciding on the one that’s right for you.
Each platform also has its own set of pros and cons, so make sure you review every option thoroughly before settling on one. But at the very least, you need features like video streaming, secure hosting, analytics and reporting, video search engine optimization (SEO), custom branding, and integration with existing systems.
Finally, consider the customer support available for each platform. Make sure the provider offers technical support in case you run into any issues (and you most likely will) when setting up or managing your service.
3. Get an encoder
The next step in the video hosting process is to get a video encoder.

Source: Thomasnet.com
An encoder is a piece of software or hardware that takes your raw video file and converts it into a format that viewers can stream on the web (whether that’s your website, YouTube, or a third-party streaming service).
But not all software/hardware encoders are created equal, so make sure you do your research and pick the one that’s most compatible with your video hosting software. Once you’ve got it, you’re ready to stream your videos.
4. Set up your security structure
You’ll need to make sure your stream is secure, especially if you plan on monetizing your stream or inviting viewers to join and comment.
Just to paint a picture of what a weak live streaming security system looks like — you don’t want to have people:
- linking to other malicious websites,
- leaving inappropriate comments that can disrupt the streaming experience,
- unauthorized users accessing the video stream,
- unauthorized access to your live streaming setup,
- downloading content without permission, or
- accessing confidential information without permission.
These are just a few of the security issues that can arise during a live stream. To ensure that your stream is secure, set up the following security components (and, ideally, your live video hosting platform should provide these):
- Digital Rights Management (DRM) policies: DRM policies protect your content from unauthorized downloads or access. DRM often works by encrypting the video stream and allowing only those viewers who have the proper permissions to access it; these permissions include elements like stream key provisioning, geographic restrictions, and so on. Learn more about DRM here.
- Firewalls: Firewalls are an important security measure that acts as a barrier between your network and the outside world. This helps to protect your stream from external threats, such as hackers.
- Setup backup plans: It’s important to set up a backup plan in case something goes wrong. This could include having multiple streams that are set up and ready to go in case of an emergency or making sure that you have a reliable source of Wi-Fi or cable internet and electricity — just in case.
Finally, you should also have a reliable streaming platform that offers advanced security features, such as two-factor authentication and the ability to store your stream in a secure cloud. This will further ensure that your stream is protected and secure against potential threats.
Bonus: Always remember to keep your stream secure and up-to-date with the latest security measures. This will ensure that your viewers have an enjoyable and safe streaming experience.
By following these steps, you will be well on your way to creating a successful video streaming experience and delighting viewers with high-quality content.
5. Set up your streaming page
At this point, you should have everything you need to start streaming. Now, it’s time to create your streaming page where viewers can watch your streams and find out when you’re broadcasting.
You can do this in a number of different ways, depending on what platform you’re using. If you’re using a platform like Twitch, YouTube Live, or Facebook Live, you can create your channel or page on their respective websites.
But if you intend to live stream from your website, you can use a service like JWP, Brightcove, or Muvi. These platforms allow you to create a streaming page on your website and embed their video player for viewers to watch your streams in real time.
Once you’ve created the page, make sure it’s optimized for the best viewing experience. This includes ensuring the page is mobile-friendly and the video player works properly. You should also include a description of your stream and any necessary instructions for viewers to watch it.
Finally, ensure that viewers have a means of contacting you with questions or feedback. This could be through a comment section on the streaming page, social platforms, or even email.
6. Connect your camera, audio, and streaming equipment
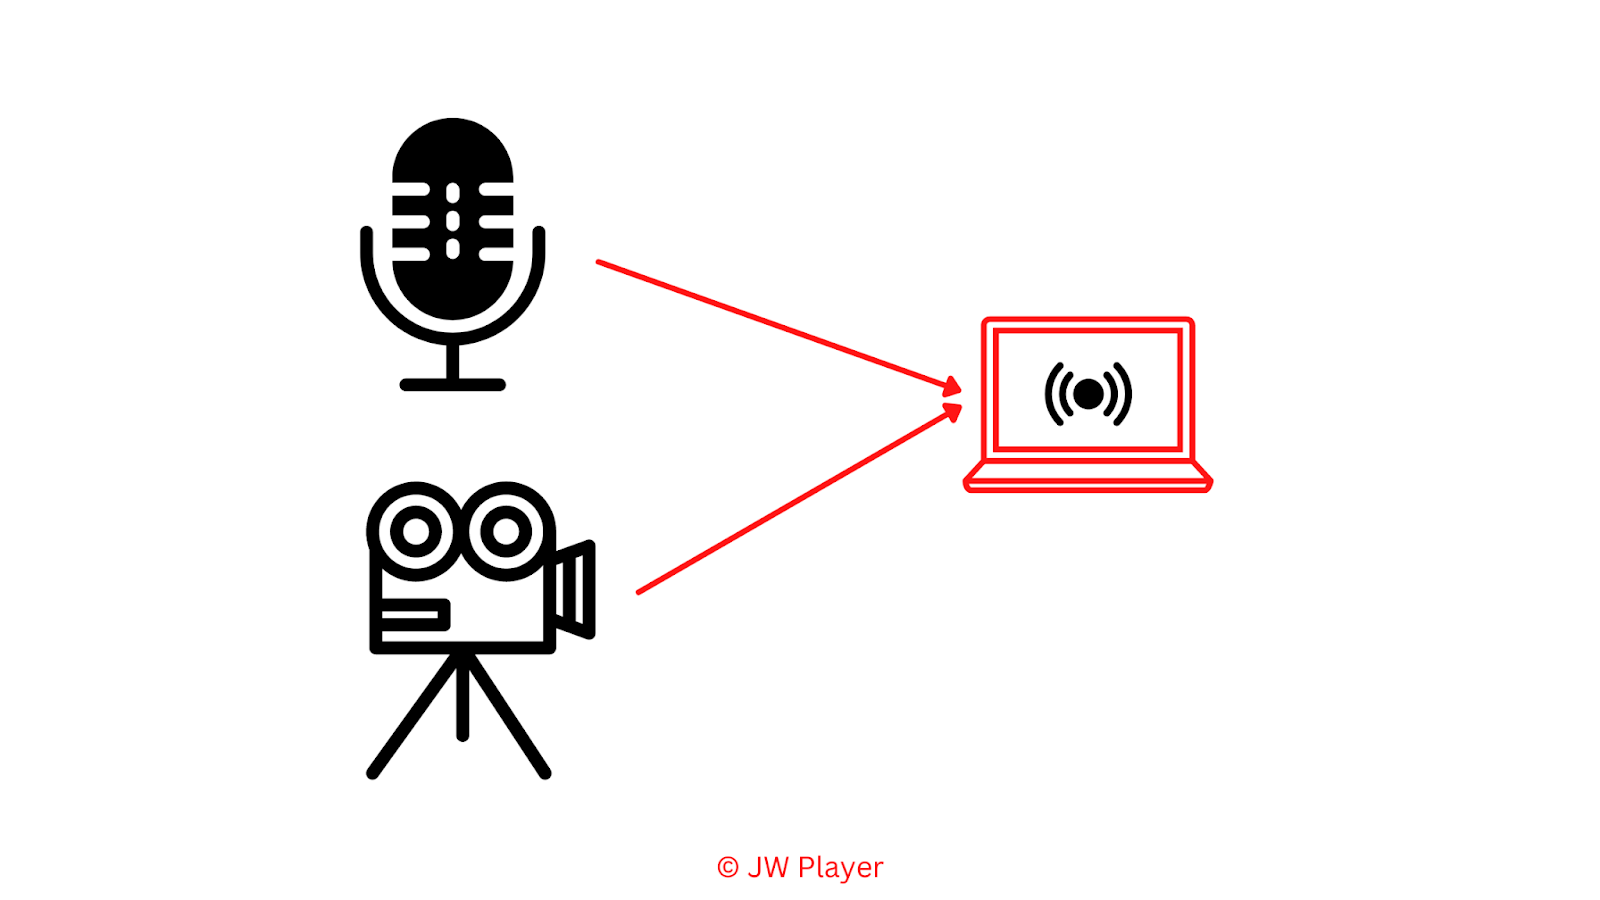
Here, you want to ensure that your camera and audio are properly connected to the web conferencing or streaming software you’re using.
The level of work you’ll need to do here depends on the type of event you’re streaming. For example, if you’re streaming a concert-level event, you may need to hire an audio/visual technician or rent appropriate equipment.
If it’s a casual event like a webinar, you may get away with using a laptop/mobile device and simply plugging in external mics. You may also need to use cables, an HDMI adapter, or a USB port to connect them. Additionally, if you have any other devices such as a green screen or lighting equipment, be sure to set these up and ensure that they work properly.
Each tool would most likely come with its own manual, so be sure to read through it and follow any setup instructions.
7. Configure the live-streaming software
This is where the actual streaming part of the process takes place. Depending on the type of platform you’re using, there are different tools and software available to set up a live stream.
Some popular services include JWP, Dacast, OBS Studio, Streamlabs, and Split Broadcaster. Each of these tools provides different features and settings tailored to streaming content, so make sure you look at the options available and read up on tutorials before going live.
Once you’re all set up and ready, you can now start streaming your content. Make sure to test the stream before going live to make sure everything is working properly. We’ll address this in more detail below.
8. Test your setup and streaming connection
You want to make sure that your setup is working properly and that the streaming connection is not interrupted. Try running a test stream to check if everything is in order.
If the event is at a physical location, maybe a concert or a theatre performance, test the setup in advance. Make sure all the equipment is working properly and you have a stable internet connection.
Ideally, do this way earlier in the day or week (depending on the event size) to give you enough time to troubleshoot any issues and make sure your stream is running smoothly and problem-free during the event.
A few important things to check during the test stream:
- Is the video quality high?
- Is the audio loud and clear enough?
- Can viewers watch your stream with no buffering or lagging?
- Are you able to switch between different cameras seamlessly?
- Is the chat function working?
- Are there any technical issues you need to address?
- Are you able to capture the entire event?
- Are you able to switch between different angles and scenes?
- Are there any parts of the event that are not getting recorded properly?
- Are all the graphics and effects working correctly?
By running a test stream beforehand, and checking these issues (and more), you can ensure that your event streaming is successful and all the attendees have a great experience.
Once the test is complete, you can proceed with your live-streaming event with confidence.
9. Go Live!
You have your camera, audio, lighting, backdrop, and everything in between ready. Now it’s time to go live! Be sure to test before going live, so you can adjust any settings if necessary.
Remember, you can also get a few practice rounds in to make sure everything looks and sounds how you want it to. Once you’re ready to go, just hit the “Go Live” button and you’re off!
Engage with your audience as much as possible during the stream. Encourage comments, ask questions, and so on. This will help create an enjoyable experience for everyone involved.
When you’re done streaming, thank everyone for watching and let them know when your next stream will be so they can tune in.
Best practices for creating successful live streams
There are so many tips and tricks that go into creating a successful live stream; here are some of the best practices to keep in mind:
1. Plan and prepare ahead of time
Before you hit the “Go Live” button, make sure you’ve planned out the content you want to cover and how you’ll cover it.
If you have to, take the time to write a script, practice what you want to say, and get everything ready before starting your stream.
A few tips for writing a script are to keep it simple, practice saying the lines aloud, include your audience in the conversation, and be engaging.
2. Make sure your internet connection is strong
If you want to maintain a strong, consistent live stream, you must have a fast and reliable internet connection.
With a good connection, your stream will be smooth and uninterrupted. Viewers will appreciate your event in all its details, with no frustrating interruptions.
A weak connection, on the other hand, will cause a choppy, low-quality stream that viewers are likely to give up on quickly — depending on much they need your content.
If it’s exclusive content they need and can’t find anywhere else, they might tolerate almost any connection quality level. But if it’s content they can find anywhere, they’ll likely give up on a glitchy stream quickly and look for an alternative that has a more reliable connection.
In fact, most consumers have little patience for a poor stream. In fact, many will only give it ninety seconds before they move on to another site or activity.
So if you’re planning on live streaming an event, make sure you have a strong internet connection — it’s the best way to ensure a smooth and successful broadcast.
3. Avoid sacrificing video and audio quality for money
When looking for a cost-effective way to produce a great experience for your live stream audience, it’s important to try to avoid sacrificing quality for money.
You may be tempted to cut corners on audio and video equipment to save money, but this can lead to a poor-quality finished stream. It’s important to invest in the best equipment you can afford, and use the most reliable streaming platform available.
This will help ensure that viewers have a great experience and that your live stream looks and sounds as professional as possible. Investing in good gear and streaming platforms will pay off in the end, so don’t be afraid to put some money into it.
At the same time, you don’t have to spend a fortune on equipment. There are lots of affordable options out there, so do your research and find the best gear for the money. For instance, a few great options for audio equipment are:
- The Audio-Technica AT2020 ($99)
- MAONO Dynamic Microphone ($149), and
- The Rode NT1-A Condenser Microphone ($276).
For video, look into cameras like:
- The JLANDA 4K Video Camera Camcorder ($259)
- Canon EOS Rebel T7 DSLR Camera ($429)
- Panasonic Lumix GH5 ($1397)
- Sony Alpha a6500 Mirrorless Digital Camera ($849), and
- The Blackmagic Pocket Cinema Camera ($1,295).
Or webcam options such as the Logitech C920 ($68.99) or Razer Kiyo ($59).
These are just a few examples of great equipment you can use for videos and audio. Do your research and find the best products for your budget, so you can have a great-looking and sounding live stream without sacrificing quality.
4. Use a tripod to keep your shots smooth
With a tripod, you can keep your shots steady and smooth, no matter what angle you’re shooting at.
Tripods are especially useful when filming on uneven terrain or in dimly lit areas, as they help keep your camera from shaking and blurring the image. But even if you’re shooting on flat ground in bright light, using a tripod is still beneficial as it keeps your camera from straining your arms and gives you a better sense of control over your shots.
So if you want to capture the best footage possible, having a tripod in your arsenal of filmmaking accessories is essential. And get one that’s compatible with your camera and can handle the weight of your equipment.
If you plan on filming for longer periods of time, consider investing in a tripod with a larger, heavier base for added stability. Also, look for tripods that have adjustable legs, so you can quickly and easily adjust the height and angle to get the exact shot you need.
Finally, don’t forget to bring a tripod head with your tripod. This will help you smoothly move your camera from one angle to the next, without having to adjust each leg of the tripod individually.
5. Have fun; be yourself
This one is less technical and a bit more philosophical. And it’s a piece of advice for if you’re doing everything yourself, where it’s just you, the camera, and your audience.
Let your personality shine through and be yourself. Avoid feeling like you have to change who you are to fit a certain mold. Be confident in your personality and enjoy the live-streaming process.
Your viewers will be more receptive to someone who is comfortable and content with who they are, so don’t be afraid to show your true self. Showing your real personality is a great way to create an engaging atmosphere and build a loyal following.
How to measure the success of your live stream
It depends on your goal. If the goal is to increase engagement and impressions, consider metrics like total views, average watch time, or number of comments or likes.
For sales-focused streams, track indicators like total revenue generated or the number of viewers who completed a purchase — maybe days, weeks, or even months after watching.
If the goal is to build your brand, consider metrics like reach, share of voice, or sentiment analysis.
No matter what your goal is, to accurately measure the success of your live stream, make sure you have a reliable analytics tool in place and a benchmark set before you start streaming. This will help you compare the performance of your streams over time, as well as how they compare to other content initiatives.
Live streaming FAQs
What equipment is needed for live streaming?
We’ve mentioned most of the tools you’ll need in this guide, but here’s a quick list to get you started:
– Reliable internet connection (preferably wired)
– Video camera or webcam — especially for simple virtual events on Zoom, Google Meet, etc.
– Microphone
– Video capture device (if necessary)
– Computer or laptop
– Video hosting services, such as JWP, Dacast, YouTube, Twitch, or Facebook Live
How can I stream live for free?
Streaming live for free is becoming increasingly popular, especially since the emergence of live streaming platforms like Twitch and YouTube Live.
Depending on your platform of choice, there are a few different ways to stream for free. There’s YouTube Live, Instagram Live, Facebook Live, and Twitch. Each platform has its own features, so it’s important to evaluate which one is the best for your situation.
How much does it cost to start streaming?
As with most businesses, the cost to start streaming depends on your goals. If you’re looking to just start streaming with no additional bells and whistles, you can do so for free.
However, if you’re looking to create a more professional setup with equipment, software services, and more, the costs can quickly add up.
At a minimum, you will need to invest in a quality microphone, web camera, and lighting. Depending on the quality you choose, these items can cost anywhere from $100 to several hundred dollars.
You will also need to consider the cost of hosting your stream. Live streaming platforms like Twitch and YouTube allow you to stream for free, but if you’re looking for a more customizable solution, you may need to invest in a third-party streaming service.
Some of these services can cost as little as $5 a month, while others can cost up to $5000 a month. It all depends on the scope of your live streaming project and what type of features and solutions you need.
Finally, you will need to consider the cost of marketing and advertising. This can range from social media ads to paid influencer partnerships and will depend largely on your budget.
Go crush your live stream!
Live streaming your event can be a great way to engage with more people and create a memorable experience for those who cannot attend in person.
By following the steps we’ve outlined in this guide, you should be able to go from planning to broadcasting with no major hitches.
And if you are looking for an end-to-end solution to live stream your event, we have just what you need. Our team at JWP can help with everything from video production and encoding to delivery and monetization. Plus, our platform is easy to use so you can focus on the content of your event rather than the technology.
Sign up for a free trial today and see how simple it is to get started streaming live.